Why not use the grid tool?
Photoshop can’t currently create proportional grids with the grid tool, it’s a global setting that gets applied to every document. So while it might be great for guides it’s not good for creating reference grids.
Here is an example:
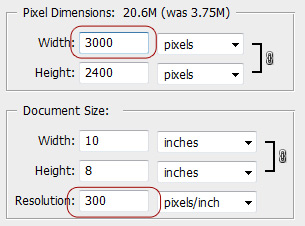
In the grid below I created a 2×2 inch square and created a gridline every 1 inches, note the four squares

I want to create an image that is twice the size of this while also having four squares (a gridline every 2 inches). If I simply create a 4×4 inch square canvas I will get the following.
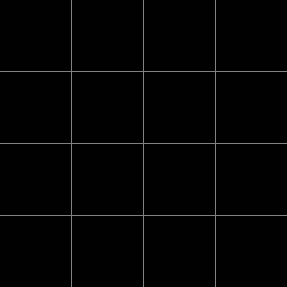
Notice that this has 16 squares whereas the other one only has 4!
At the moment there is no way to set a different grid for each document. So until Adobe changes that you will need to use the technique illustrated below to create your proportional grids.
Part One: Preparing a grid for your reference photo.
Find the width of your reference image
First thing you need to do is find the width of your reference image. In my case it’s 1024px.
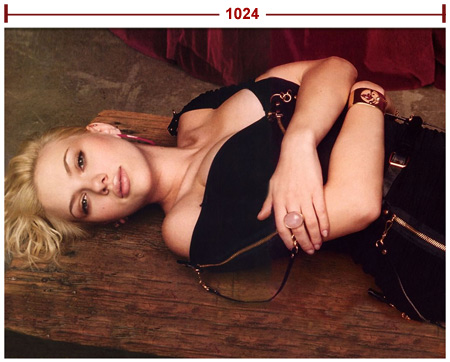
Find the width of each square in your grid
Because I wanted 10 squares in my grid I divided that number by 10. Find the number of squares that’s appropriate for you. Generally a good range is between 8 and 12.
1024px/10 = 102.4px
Because you can’t have .4 pixels I rounded this down to 102.
Create the square pattern.
Open a new document and set the width and height to 102 pixels.
Unlock the background layer by double clicking it. Click the little Fx at the bottom of the layers palette to open the layer style window. Apply these settings.
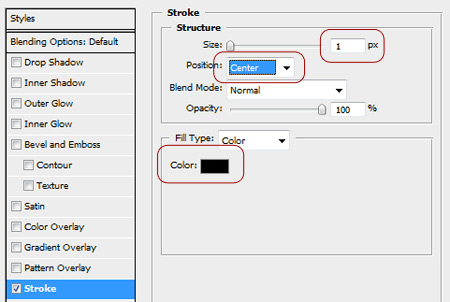
Next go to Edit > Define Pattern. Give it the name Grid and click OK
Create the grid channel.
Go to your reference image.
Click Window > Channels To bring up the channels tab. Create a new channel and name it Grid.
Type Shift – F5 to bring up the fill dialog.
Select Pattern from the drop down menu and then select Grid (the one you just created).
Click Ok
It should look something like this.
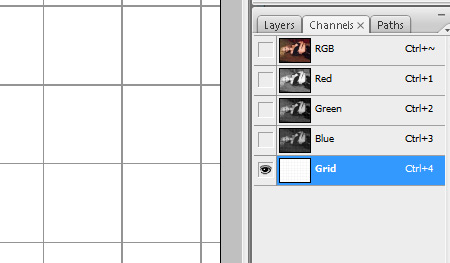
Fill the grid lines with black
Go back to the layers palette and create a new layer on top of your reference photo, name this layer Grid.
Go to Select > Load Selection. Select Grid from the drop down menu and click ok.
You should see a selection mask.
Go to Select > Inverse to invert the selection.
Press Shift – F5 and select Black From the drop down list.
Presto! You have a grid!
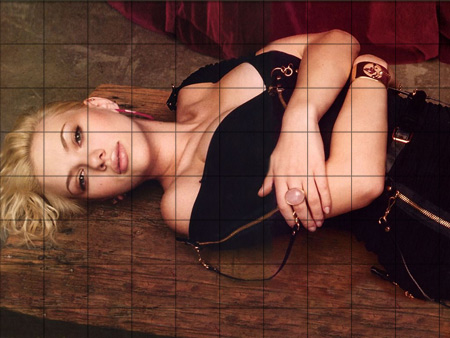
Part Two: Preparing a grid for your canvas.
Create a new canvas the same size as your reference photo. In my case it was 1024 x 768 pixels.
Create a new layer above the background layer, name this Grid
Like before, go to the channels palette and create a new channel and name it Grid, with the
new channel selected, press Shift – F5 and select your pattern.
new channel selected, press Shift – F5 and select your pattern.
Go back to the layers palette select the grid layer and go to Select > Load Selection. Select
Grid from the drop down menu and click Ok.
Grid from the drop down menu and click Ok.
Invert the selection mask and fill it with black.
It should look like this.
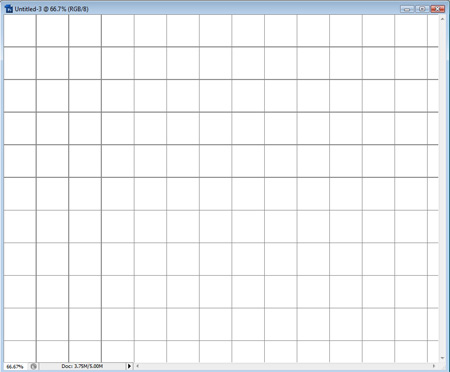
Make the canvas larger than the reference
If you’re making this grid for the portrait, it’s a good idea to make the canvas larger than the image source.
Go to Image > Image Size and apply these settings.
