Dove sneaks revert-to-original Photoshop Elements plugin into art directors' toolkits
A week old and only 3 upvotes. Nobody downloaded this, let alone any art directors or photo retouchers who work at agencies (who probably wouldn't use random filters found on reddit anyway).
Neat idea for a viral campaign, though.
Nearly six months after being released to the public, Adobe is finally bringing the Photoshop Elements 11 Editor to the Mac App Store. The delay isn’t exactly surprising. Back when Photoshop Elements 10 was released, Adobe took a few months for the editor to make its way to the App Store. The excuse, it seems, is that this is a different app than Photoshop Elements 11; it features the editor only, Adobe says, “and does not include Elements Organizer.” Adobe’s distribution methods are certainly shifting. The company is planning to halt sales of its boxed softwar
Most artists, designers, and photographers need to apply texture, aging, and weathering effects to their work at some point. These types of effects can be a lot of fun to apply to your work, but applying them using Photoshop’s basic tools can be quite time-consuming. In this tutorial, we will show you how the new Machine Wash Deluxe plugin by Mister Retro can be used to apply professional quality texture, aging, and weathering effects to artwork. Let’s take a look!
Machine Wash Deluxe is a simple and powerful plugin for Adobe Photoshop, Lightroom, Apple Aperture, and iPhoto that allows you to add weather and age to photographs, designs, or even typography. It includes over 3,500 presets and will allow you to create millions of possible creations. The tutorial below, by Mark Heaps will give you a detailed explanation of Machine Wash’s capabilities.
photo editor effect users will be able to include up to five photos in their movies; those with the premium version can add up to photo . The movies will include smart photo-editing effects that allow effect o capture the subject of a Photoshop Effect is the most powerful photo editor to enhance your photo with various amazing effects, paint your photo with single touch, capture photo with great celebrity & different nature beauty, adding stickers & texts.
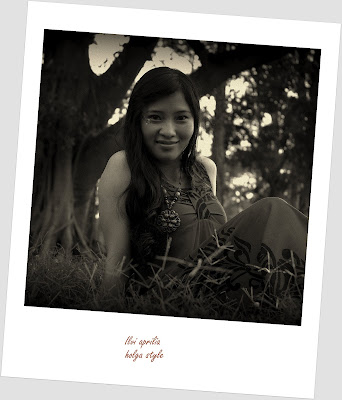
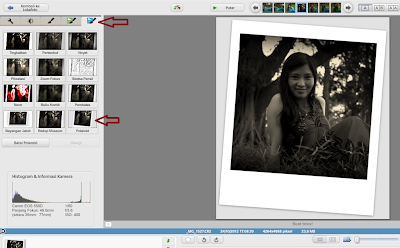
Photo Editor. Holga Effect Using Picasa By Lomow. What is holga effect ? holga effect is the technique of changing the photo into a classical order is like using a plastic camera. holga effects can be done in many ways, an awful lot of free and commercial software that provides this feature. then, how about the result. You can see the photos that are there in this webblog. It is the result of edit using the holga effect.by using the holga effect, then your photos will look more classic, if you like the classical art, for sure you'll like it. okey, this time in the article I will give you a tutorial how to make the holga effect using picasa photo editor. You must have picasa photo editor software. You can download for free, because this software is free software that is provided by google.
Let's look at the history of the holga.
Holga is a plastic camera using 120 film. The camera was discovered in 1982 by TM Lee who works at Universal Electronics, Ltd., Kowloon, Hongkong. The name comes from the Cantonese Holga, hol-gon, which means it is very bright and then changes into a Holga. The camera includes a camera into the category of these toys are still being used by many people all over the world. Each camera type Holga has an effect that is unique and different from each other. For example, there's the Holga was created to generate the images brighter or more colorful images, but some are deliberately created by light leakage on the sides.
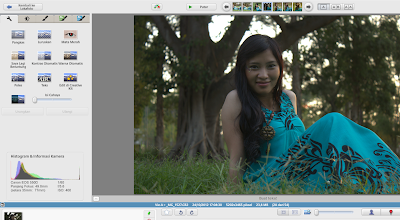
To make the photo using the holga effect on picasa, the first step is, select the image that you will use and go with picasa photo editor. You can see an example here.
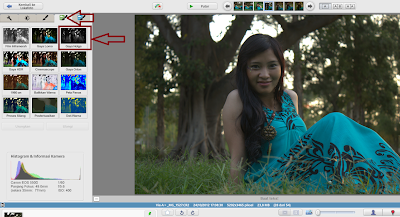
Once you see your picture window, the next step is, click on the button no 4 on the menu. After doing that, you will view several options effect that you can use. the next step is, click on the holga effect. for more details see in the picture below.
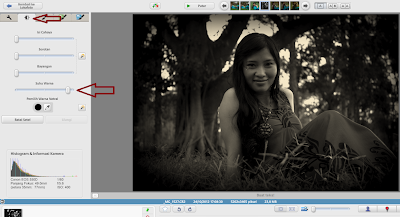
After you do this, then you will see your photo with holga effect. whether you have satisfied? I am sure you have not been satisfied. the next step is to give effect image sharpness. effect is used to sharpen your images and look more beautiful. for more details see the following command in the picture.
After you perform these steps, you can set it to your liking. However you desire. It's the best. If you have set it up in your favor, the final step is to manipulate light in your photos. to manipulate light in your photos, press on the menu no 2. You will see 4 options. I suggest to start with the choice of no4. Why? the options are no 4 is to adjust the color on your photos, you can change it as you want. This will make it easier for you to do the manipulation of light. look at the pictures.
After these steps, you have to change your photo into a holga photo. make sure your photos look classic and beautiful. You can then save your photos, or, you want to make it with a style that is beautiful. okey we will do it. Click on the menu no 5 and choose your style. look at the pictures.
Digital photography skills – you have a much better photographer let us do all the work from the downgrade Myth: digital camera, fairly inexperienced photographer can shoot the best digital SLR cameras on the market. With a little research and a willingness to learn, anyone can use a simple end camera photos.
Photos on canvas – photography ultimate dream canvas prints is a great, dynamic way to edit your photos into works of art. If you are a photographer, you want to capture the hot summer theme, this is the best way to do it.
Summer to provide a variety of opportunities for you, whether you are an amateur or a professional photographer. Directly from the heart, although almost everyone is in constant contact, it is still nothing particularly exciting greeting cards mail by sending photo cards like Facebook, Twitter and email.
This indicates that the person has invested time and energy, so you know how much you mean is they who sent it, this is a case of more card photo cards. 6 simple tips, digital image capture those special moments or special form has become easier with digital photography
If you want to have a better quality picture, and then follow the simple digital photo tips that will help you generate additional special shooting. There are a lot of small things you can do to improve your work, but experiment and try different things, and then assess the best. Procedure to choose the online photo-sharing service, everyone wants to photographs stored on different occasions.
When the image check, they give nostalgic memories and happiness. The photo is something that everyone wants to save. They can be passed from generation to generation to down. Important to choose the right courses online photo-sharing service. Set a photo gallery is a daunting task, and they spend a lot of time.
This is a project that makes your photos look like an old television, but by using a real old television rather than relying on digital filters. Once you upload your picture it’s displayed and photographed on an old television set located somewhere in South West London and then returned to you in all its distorted glory. It’s the nearest thing you can get to handmade in the world of digital delivery!
It’s inspired by the great Insta CRT project which used a DSLR to take pictures of an old video camera viewfinder to create interesting photo effects. Unfortunately the mobile app which accompanied that project is for iPhone only and as an Android user I was unable to use it. Then I recently became the lucky owner of a Raspberry Pi and was looking for a little project to evaluate it. I had an old Canon A 70 digital camera and a splendid Rigonda VL-100 television set lying around, so I set about creating my own photo to telly converter.
The system can produce monochrome images directly or colour images by combining three separate images of the image RGB components. This video illustrates the process required to produce a colour image. However the app only processes monochrome images, partly because they don’t take as long to prepare but also because the idea here is to capture the distortion caused by physical effects and to minimise digital processing.
Some image artifacts to look out for
Blooming: Images bow outwards in bright areas. This is caused by the increased beam current causing the tube HT voltage to drop.
Visible retrace lines: The beam fails to shut off completely during the vertical retrace period. This set is particularly prone to this, especially noticeable in dark images.
Pincushioning: This is an inevitable effect of using magnetic deflection. There’s a great explanation of it in The Secret Life of XY Monitors.
Poor dynamic range: Highlights are washed out, shadows lack detail.
Smeared vertical edges: Not so sure where this comes from. Could be the video drive transistors turning off too slowly or the effect of my composite video input bodge (see below).
System overview
The mobile app uploads the selected image to a directory on an FTP server. A shell script running on the Pi scans this directory every minute and downloads any new images. If it finds any it turns the TV on and waits for it to warm up. Then it displays and photographs each image in turn and uploads them back to the FTP server. It then sends an alert to the mobile app using Google Cloud Messaging. When the mobile receives this message it downloads the processed image from the FTP server, saves it to the device’s gallery and informs the user with a notification.
Now lets look at the system components in more detail.
The display
The Rigonda VL-100 was manufactured in the 70s by Mezon Works in Leningrad and I picked this one up in the early 80s for £5. It’s cluttered up my parent’s house for the last 30 years (sorry Mum) and so it was great for everyone that I could find a project to use it.
The TV only has an RF input and the tuner’s frequency control is pretty poor making it difficult to rely on it to stay tuned over a long period of time. So I added a composite video input for the set, capacitively coupling the composite signal into the receiver just after the AM detector diode. This gives a reasonable picture which is unaffected by the frequency drift of the tuner.
The TV is powered by 12v from an old PC power supply and is turned on and off by a relay controlled by one of the GPIO lines of the Pi. This allows the Pi to only turn the TV on when there are pictures to process. If no new pictures are received within 10 minutes the Pi turns the TV off and waits 15 minutes before scanning for more images so as not to stress the TV tube by repeated power cycling. Unfortunately this means that sometimes it might take several minutes to process an image but hopefully this strategy will prolong the tube’s life.
The camera
This is a Canon A70 which I rescued from a dustbin at my former employer in about 2005. It gave sterling service for many years, but like so many A70s it suffered from bad connections that made it too unreliable for everyday use. However it does support remote control over USB using gphoto2 allowing the Pi to take and download pictures automatically. Unfortunately the camera can’t engage macro mode under USB control so it’s set up at the minimum distance from the TV that still allows it to stay in focus:
This results in an image of the screen together with the surroundings, which is then cropped by the Pi using Imagemagick to give the final picture:
The Pi
The Pi used is a model B. It’s connected to the network via the on board Ethernet connector and to the camera via one of the two USB ports. Being Linux based it’s simple to install any drivers and packages required, making it a very powerful development platform.
TV connection
The Pi has a composite video output which makes it simple to connect to the TV. All that needs to be done for the display is to set the Pi’s video standard to 50Hz/PAL which can be done by uncommenting the line:
sdtv_mode=2
in /boot/config.txt and restarting.
GPIO setup and relay control
GPIO port 17 is used to control the TV power relay. The GPIO line is set up in the main control script by creating a file called setup_gpio.sh with the contents:
#prepare GPIO17 for output
echo "Setting up GPIO for output..."
echo "17" > /sys/class/gpio/export
echo "out" > /sys/class/gpio/gpio17/direction
chmod 666 /sys/class/gpio/gpio17/value
echo "Done."
The IO line drives the relay using the following circuit:
Image display and capture
The images are displayed on the screen using the qiv command. This displays the image on the primary display, full screen, hiding the cursor and status bar:
Just look at that pincushioning - those shelves are supposed to be parallel!
Once this is working, it’s a simple step to process colour images by taking three separate pictures of the red, green and blue channels and then combining them. First split the original image in to three channel images:
convert img.jpg -channel R -separate r.jpg
convert img.jpg -channel G -separate g.jpg
convert img.jpg -channel B -separate b.jpg
Once they’re photographed and cropped they can be combined to produce a single full colour image. The resulting pictures have an odd quality because unlike pictures of a conventional colour CRT, there’s no shadow mask or discrete phosphor dots. The pictures appear much more photographic.
This is a simple Android app which allows the user to take a photo using the camera, or choose an image from the gallery. Once chosen the image is cropped to a 4:3 aspect ratio and uploaded to the FTP server. When processing is complete the server alerts the device with a GCM message which causes it to download the processed image from the FTP server. It’s been tried on a few devices but testing has by no means been exhaustive. Your mileage may vary. Known issues:
Sometimes the notification message can take a long time to arrive after it’s sent. If the notification doesn’t arrive to tell you your image is ready then click the ‘Browse your pictures…’ button in the app to see a list of your processed images.
You are identified to the server by a unique ID that’s generated when you first run the app. Uninstalling or clearing the app data will delete this ID and any pictures that haven’t been downloaded will then be inaccessible.
Processed images are saved at the back of the device gallery making them difficult to find.
The app relies on the device having the ability to crop images. If that’s not supported it won’t work. The Motorola Droid appears to crop but doesn’t return the image, instead setting the device wallpaper to the selected image.
Future development
There are several parts of the system that could do with improvement:
Polling an FTP server isn’t very efficient. Allowing the server to scp files direct to the Pi would be better.
This setup isn’t very scalable. It takes about a minute to process a monochrome image, longer for colour. Using a video camera instead of a digital camera could conceivably get the throughput to maybe 10fps. You’d need something with more power than a Pi to keep up with that though!
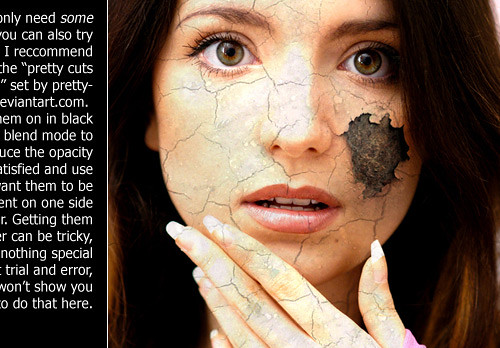
some awesome effects i love the crack and peel really useful for some nice wall hanging artwork project that I had in mind!
I wish you good luck, while exploring and learning so you could spice up your own photos, impress friends and evolve your design to create awesome photo effects in photoshop
Looking at how powerful Photoshop can be in terms of photo editing, it’s probably not important if you suck at taking photographs or being labeled an amateur photographer. As long as you picked up a couple of Photoshop photo editing skills, it will still impress those who sees it.
So the next time you want to publish some photos online, consider editing them so they look more impressive. Here’s a compilation of Nicest Photoshop Photo Effects you can take into reference. Full content after jump.
Mental Wave Explosion Effect
How to create a crazy explosion, like a mix of Magneto’s ability with Peter Petrelli’s power.
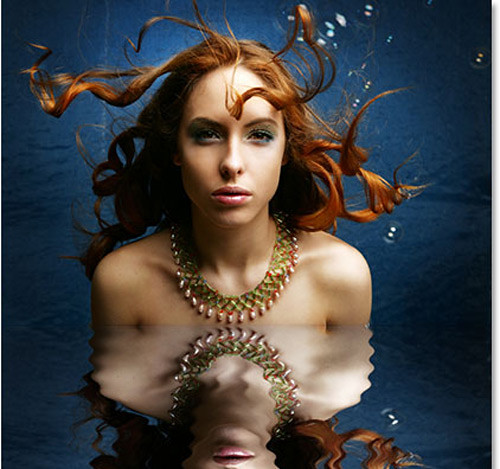
Realistic Water Reflection
How to easily add a realistic water reflection to any photo.
Displacement Effects
How to use a variety of filters and techniques to produce an image in an experimental style.
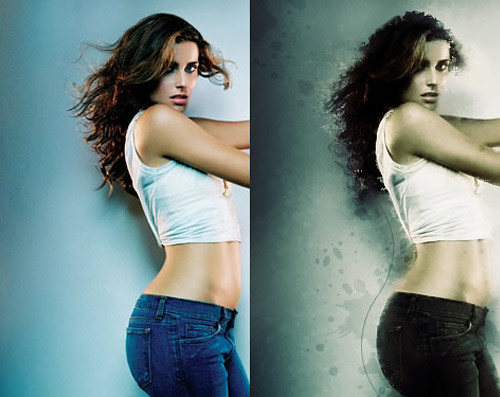
Make Photos More Suggestive
Learn how to make the model in this tutorial more suggestive with awesome curves
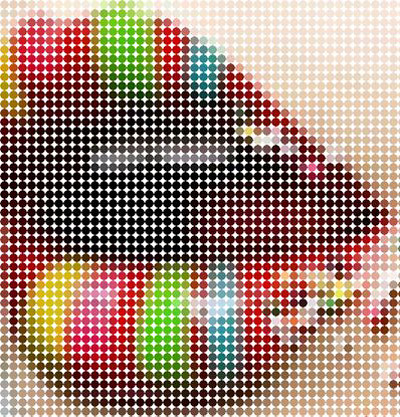
Halftone Dots And Linear Light
A very cool linear light halftone dot effect in less than 2 minutes.
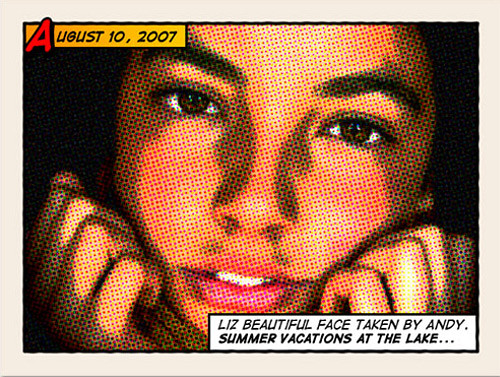
Retro Comic Book Effect
Creating a old comic book effect for your photos.
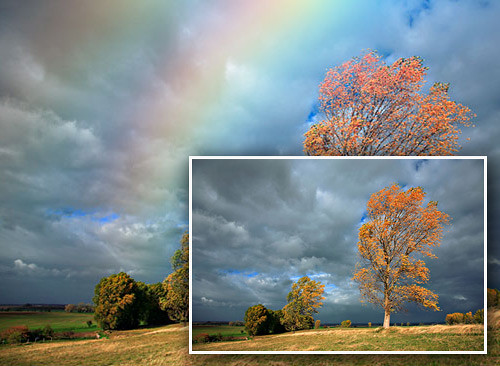
Add Realistic Rainbow To A Photo
Easily add a rainbow, even a double rainbow, to a photo.
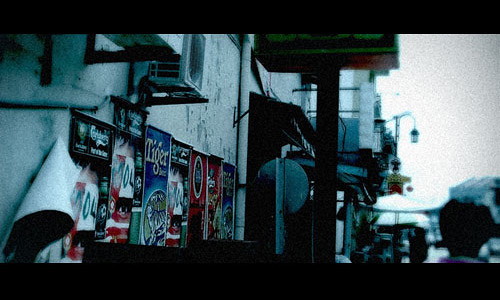
How To Make Digital Photos Look Like Lomo Photography
Take a digital photo and make it Lomoified
Creating A Rocking Silhouette
How to create a silhouette of a person taken from a normal photo, adding colorful light to it as if the light source is located behind this object.
Adding Reflections To Sunglasses
How to add reflections, or at least, different reflections, to sunglasses.
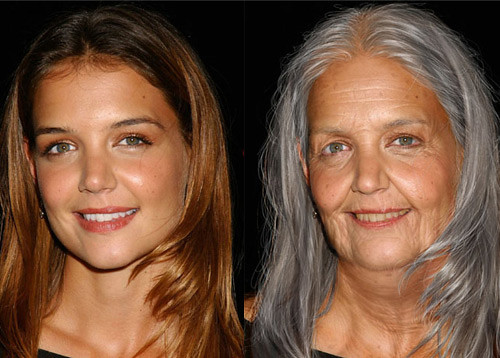
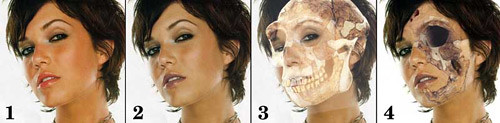
Age Progression
Go about aging a woman’s face in Photoshop.
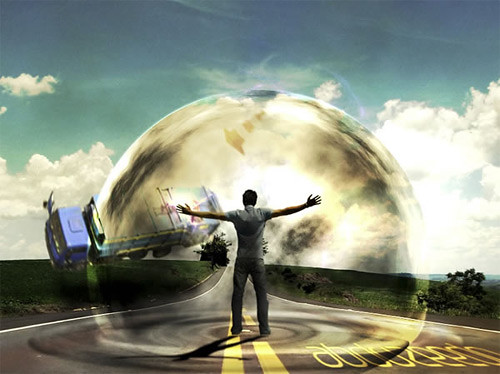
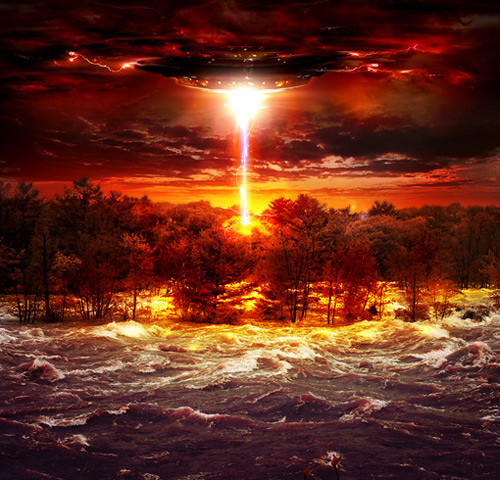
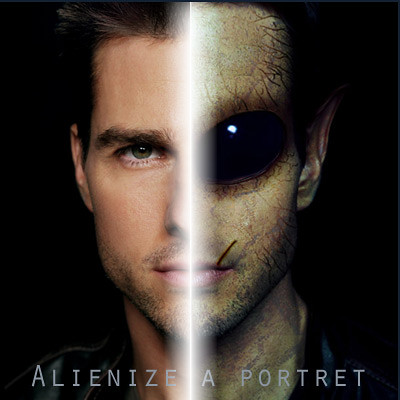
Alien Invasion
Dark Art Picture Style
How to combine some stocks and Photoshop techniques to make an amazing dark art picture style.
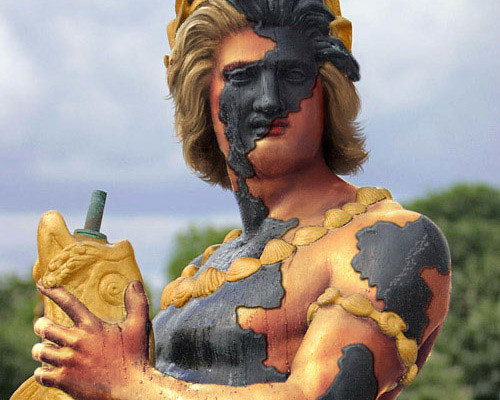
Bringing A Stone Statue To Life
How to take a stone statue and alter it to look life-like.
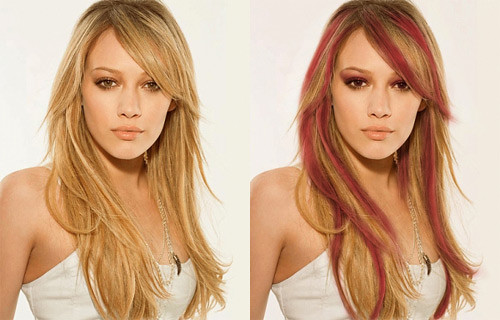
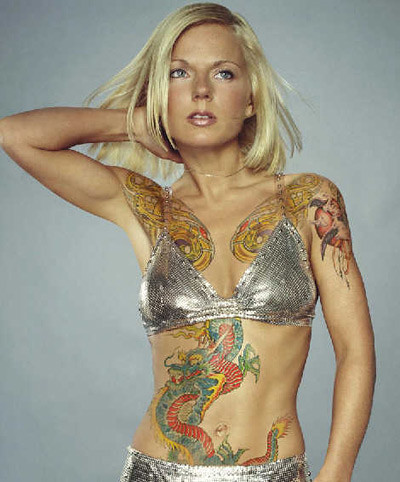
Changing Hair Color
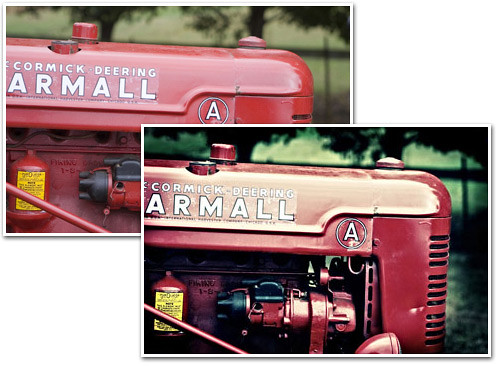
Photo Edit Color Effects
Add Another Dimension
Create stunning effects using glows.
Crack And Peel
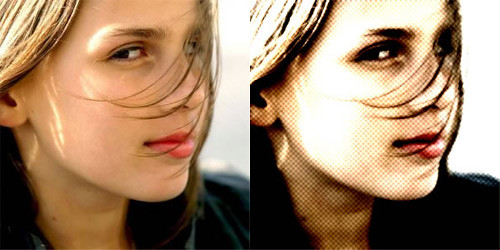
Cool Halftone Effect
How to create halftone patterns and creatively cut up an image of a model holding a boombox.
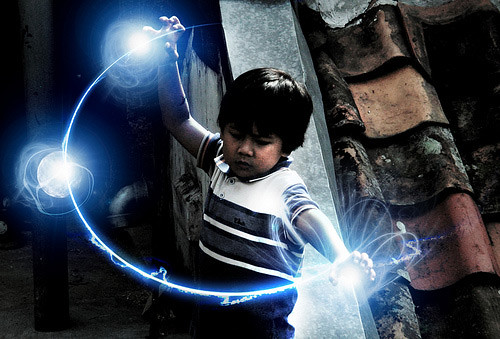
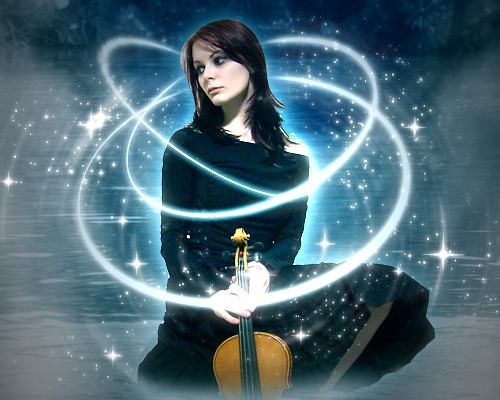
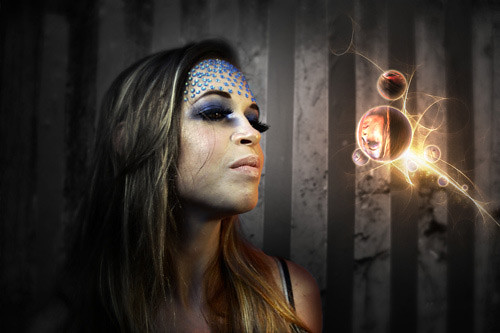
Creating Energy Spheres
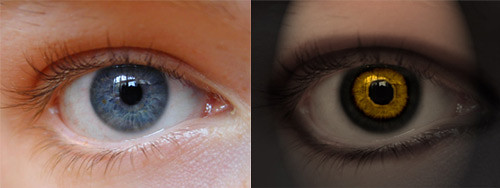
Devil’s Eyes
How to make eyes look more sinister
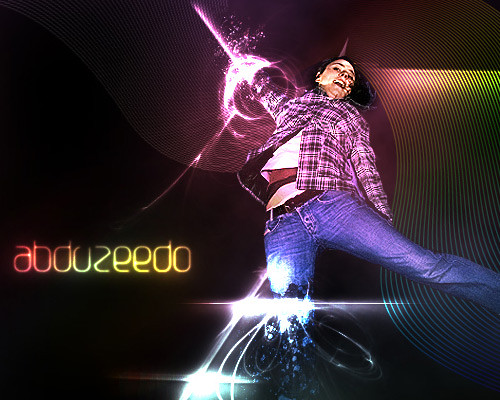
Dynamic Lightning
How to spice up a fairly dull and flat photograph.
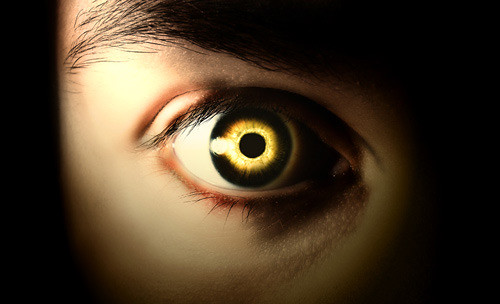
Eery-Eye Photo Manipulation
Expressive Lighting Effects
How to go about combining several lighting techniques
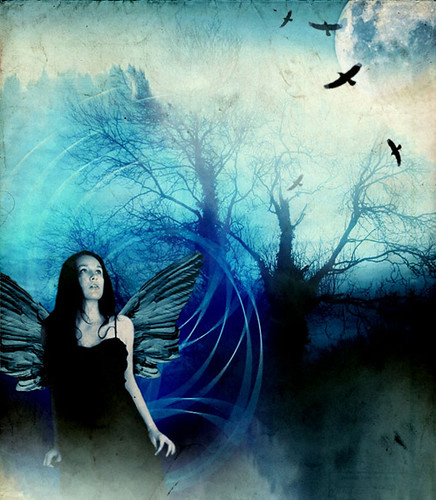
Fantasy Art
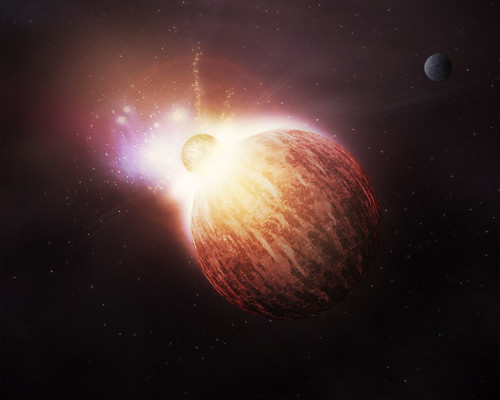
Fiery Photoshop Space Explosion
Creating a spectacular space scene featuring two planets colliding.
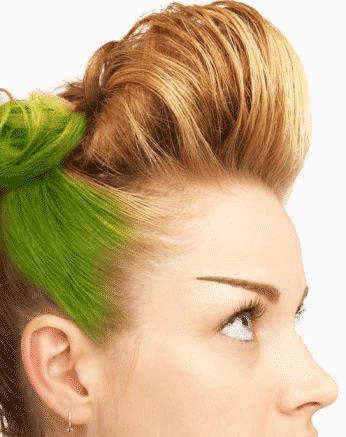
Color Hair Locks
Getting the hair colored in just few minutes.
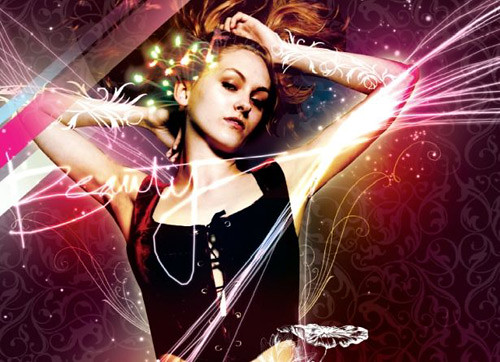
Beautiful Lady Effect
How To Turn Your Photo Into Movie-Like Effect
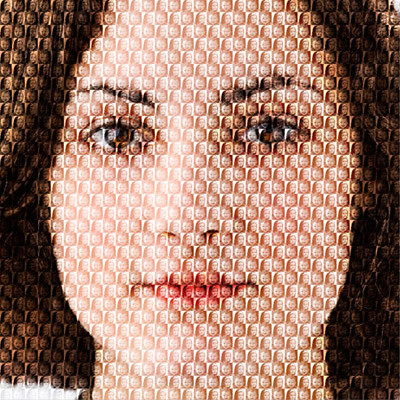
Mosaic, Fill A Photo With Photos
Create a bit of an optical illusion, filling one photo with many smaller photos, or at least, many copies of a couple of smaller photos.
Photoshop Effects: Focus With Light
How to add focus to an image with light, using Photoshop’s Lighting Effects filter and multiple light sources.
Zombie
Turning Mandy Moore or anyone into zombie.
Super Slick Dusky Lighting Effects
Put together a sunset image mixing some vector shapes and dusky lighting effects to produce a slick image that would make a nice album cover for a chillout mix!